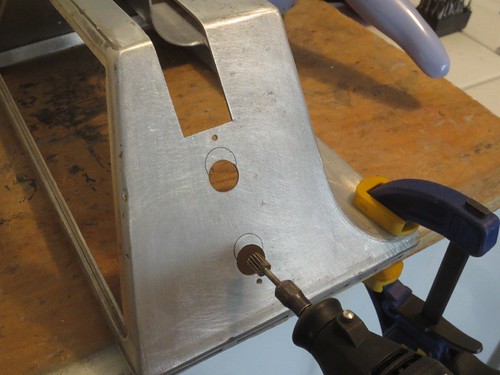
The pre-drilled holes for the knurled hose fittings don't match the actual foot strip holes, so I needed to use the Dremel to widen them considerably.
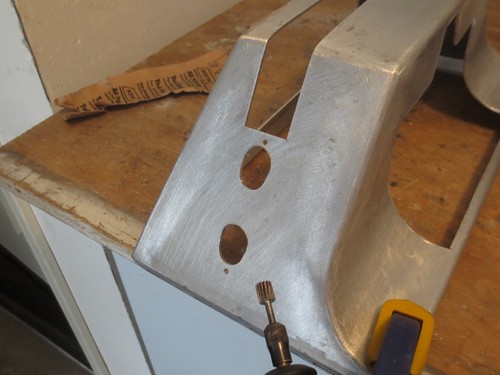
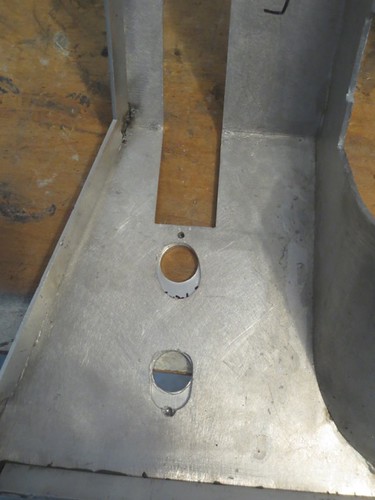
Now the foot strip holes can accommodate the knurled hose fittings when mounted to the foot shell, as seen from the inside.
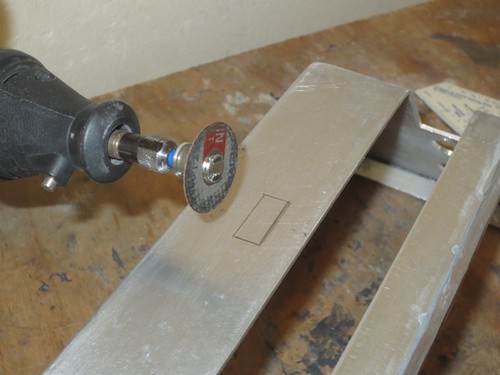
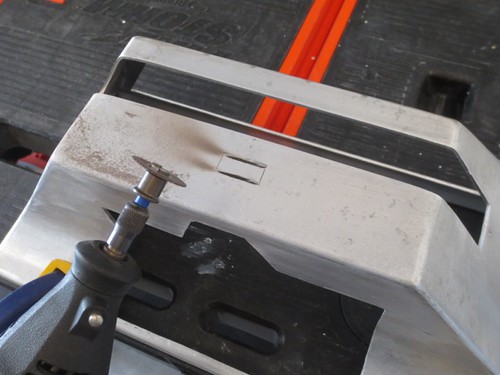
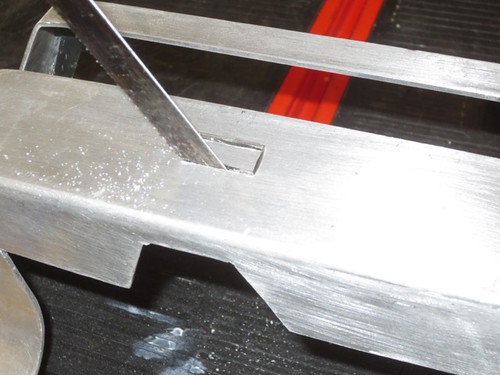
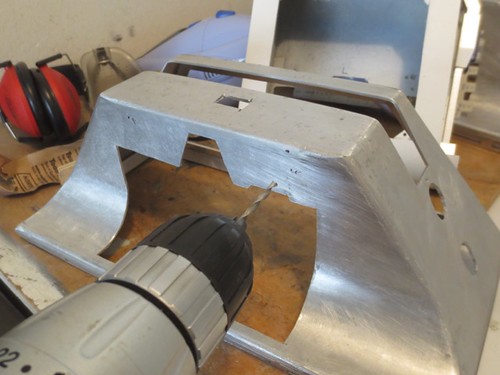
Next up, cutting the holes at the top of the foot shells to allow for the motor wiring to pass through. I used a combination of the Dremel and a hacksaw blade.
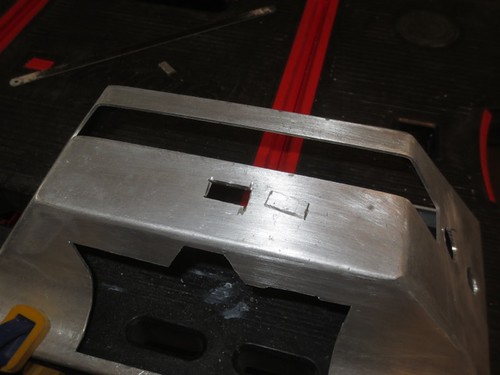
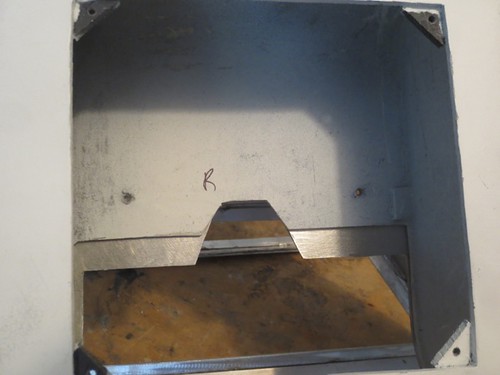
The holes for mounting the battery boxes still needed to be drilled. I used the boxes to mark where to drill the holes.
I'm planning on using 1/8" drywall screws to mount the battery boxes to the foot shells. How do I plan to do that? By gluing pieces of PVC on the backside of the holes I'm drilling, for the drywall screws to screw into.
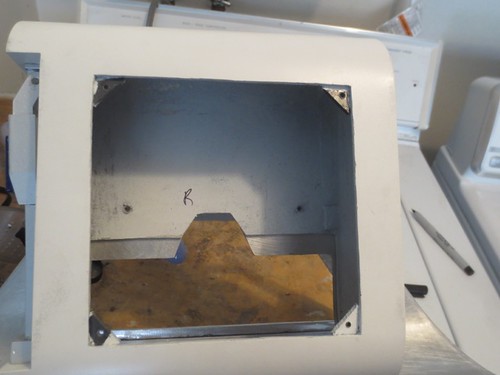
The holes line up, so the battery boxes should be ready for mounting when the time comes.
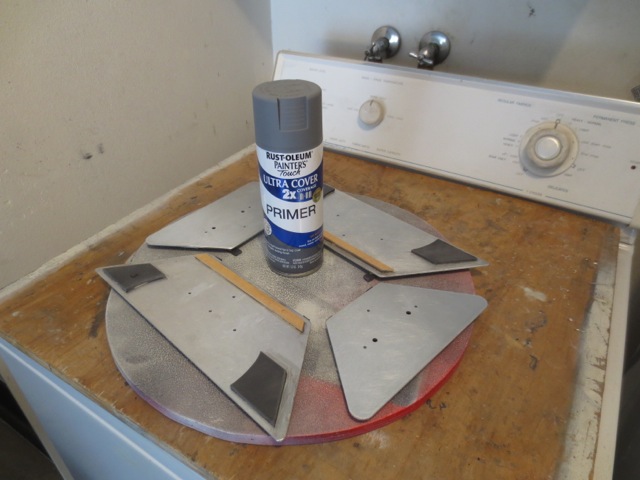
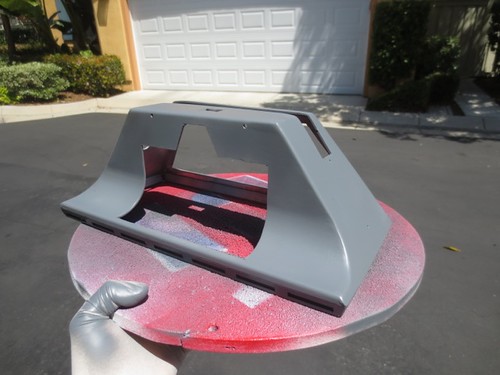
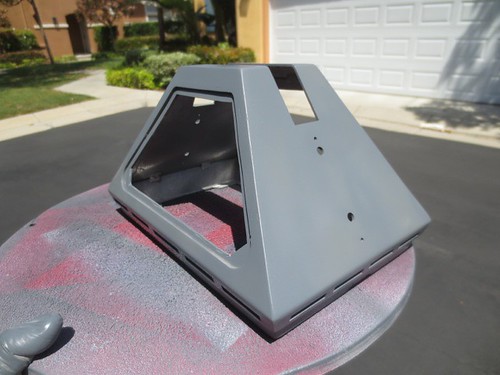
And finally (for the foot shells), time to start priming the foot shells and doors. I use gray primer when white paint will go on top, to more easily distinguish primer from paint.
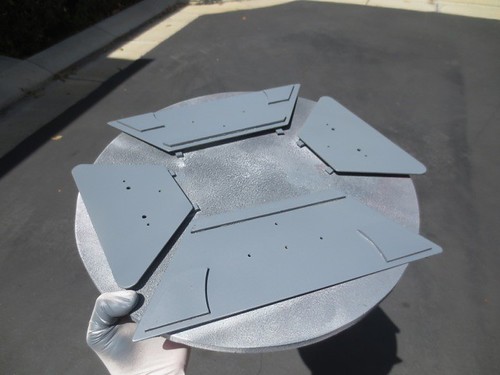
Hmm. This wasn't in the plans.
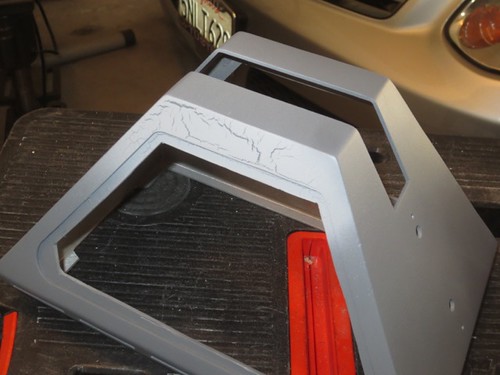
I had run low on regular primer and switched to a filling primer for the second coat, and perhaps the different mixture was the culprit, I'm not sure. At any rate, I sanded that down and will try again tomorrow.
I wrapped up by cutting the ends off the gas pipe that is used for the manual droid lift on droid #2.
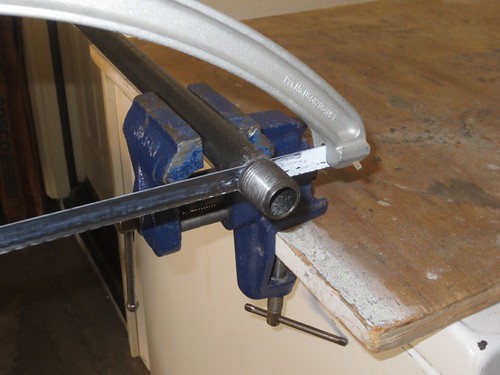
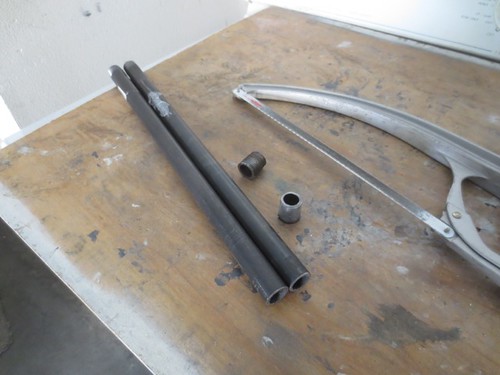
Now the pipes fit into the center leg without bumping into the main gas pipe above them. I also adjusted the manual droid lift so that the gas pipes are level and no longer crooked when screwed into place.


